Circle of Stitches

Purveyors of fine yarns and witchy goods

The Vasa Top: Knit it in the Round

Ana CamposComment
IMG_9661.JPG

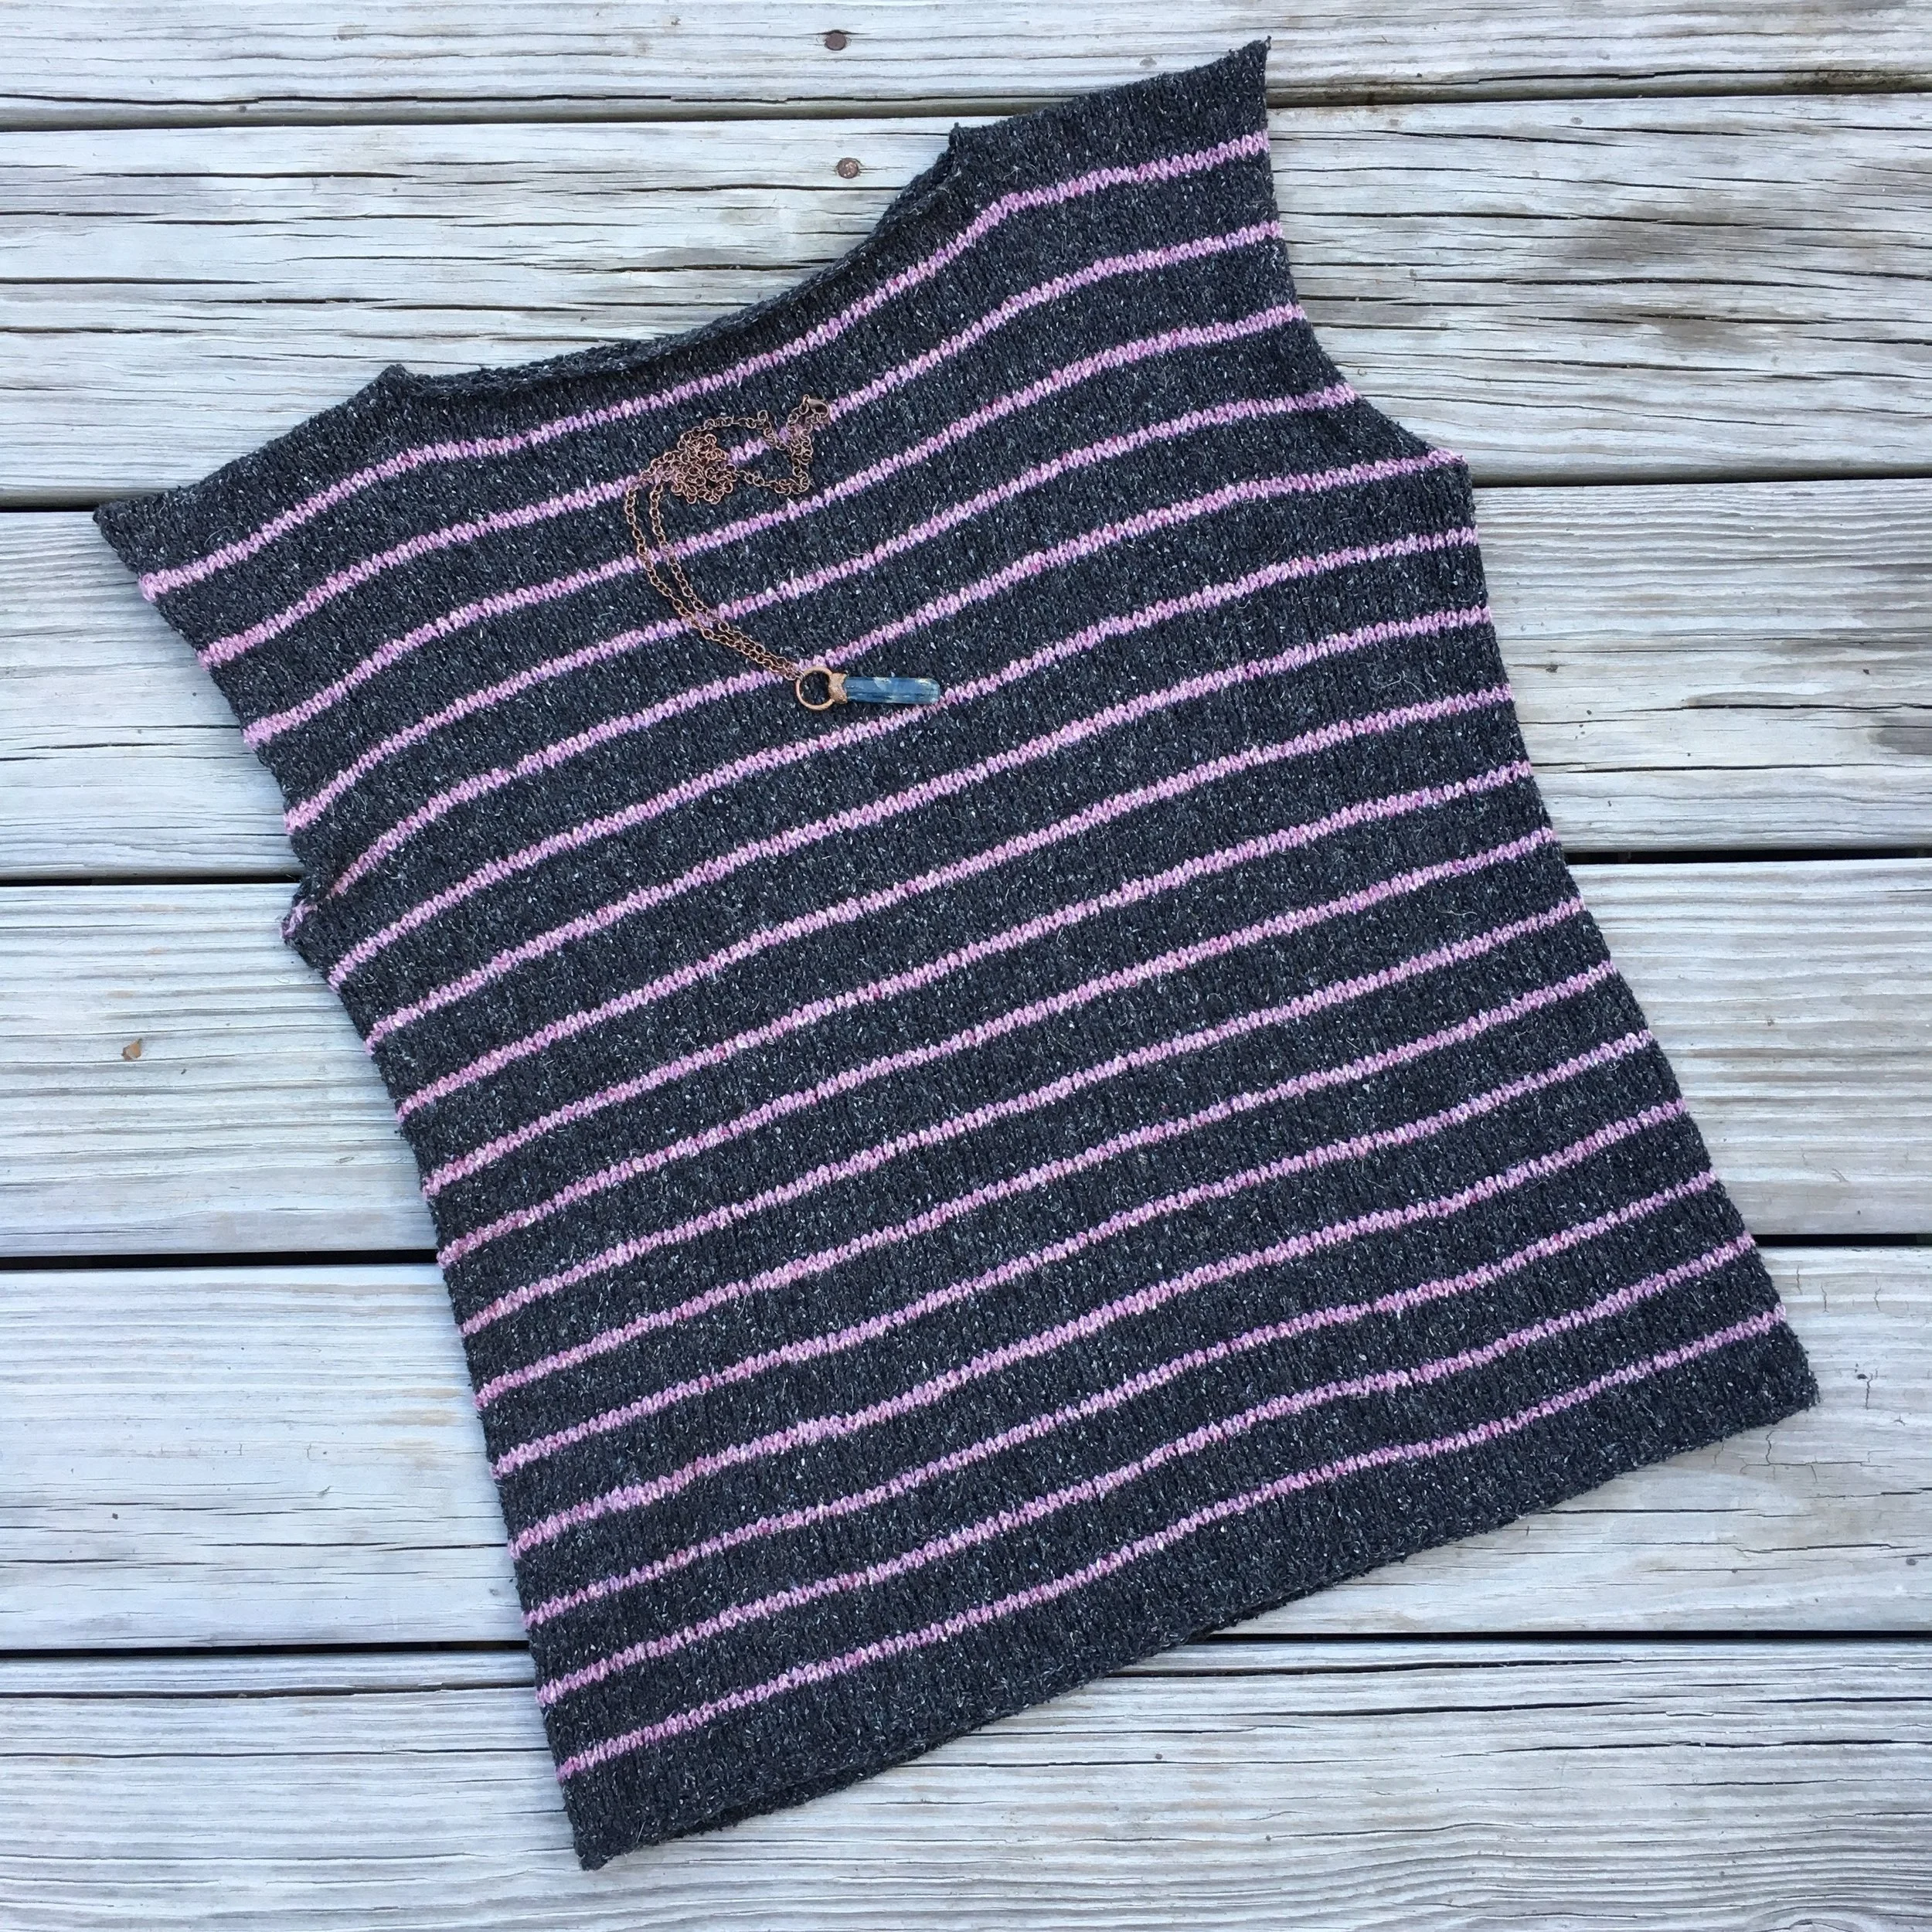
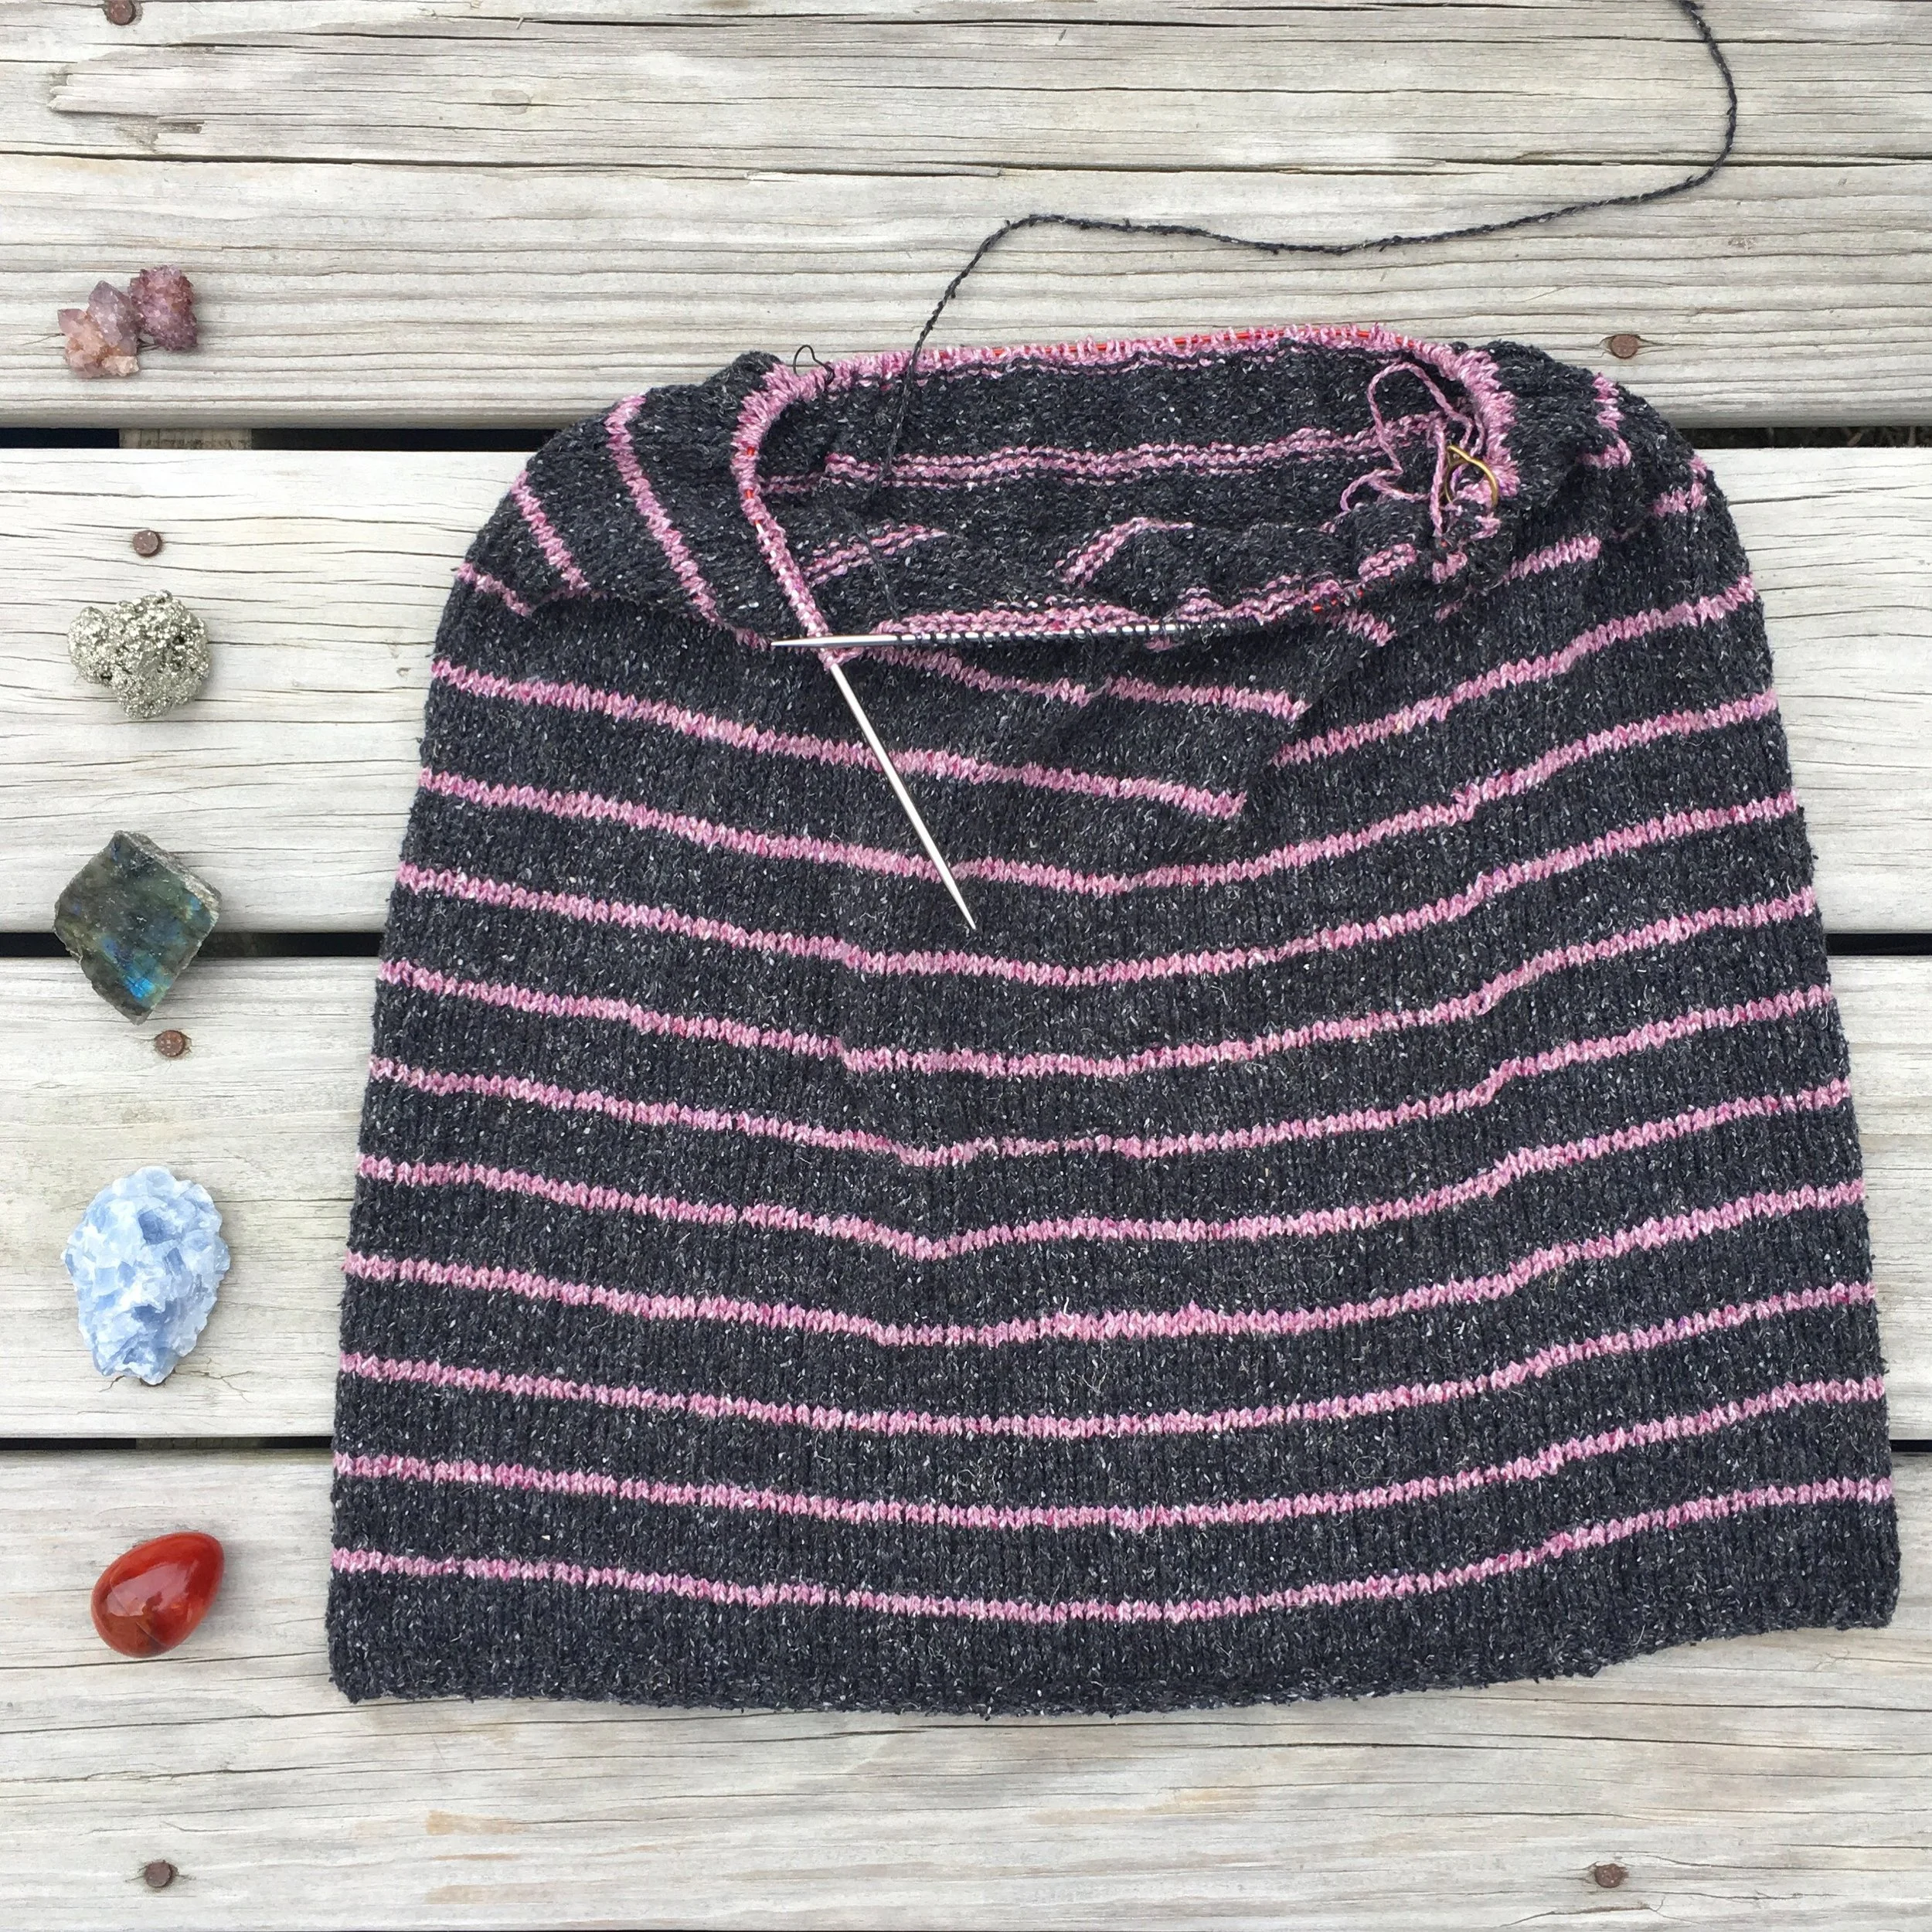
I'd been coveting Dianna Walla's Vasa top for ages, and when Berroco Remix Light arrived in the spring I knew it would be the perfect yarn - tweedy, wool free, lightweight, and made of 100% recycled fibers. 

Dianna's pattern is written to be knit flat, but being slightly impatient, I modified it to knit in the round. Here's how to modify the pattern if you'd like to knit it in the round too (don't forget to buy your copy of the pattern first):


Casting on: Find the cast on number for your size. Take this number, multiply it by two, then subtract four stitches. This is your new cast on number. What this does is give you enough stitches for both back and front at once, and removes the selvedge stitches since you won't be seaming. Join in the round and place a beginning of round marker. 

Ribbing: rather than following rows 1-4 as written, K1, P1 all around for all four rounds.

Rows 1-10: Follow as written, but change the purl rows for knit rows since we are in the round.

Work in this manner until you have your desired length to the underarms. Now you will be working flat. Split your stitches in half, half for the front and half for the back. 

Working the first half, now follow rows 1-10 as written in the pattern (knit flat). End having completed Row 7.

Now you'll be defining your shoulders and binding off the neckline. Look under "Finishing" on the pattern to figure out how wide your shoulder will be. For example, if you have a 6" shoulder, that should correlate to approximately 36 stitches. Knit the next 36 stitches, bind off until you have 36 stitches left, and knit to the end. You will now have a bound off neck line, with 36 live stitches on each shoulder. Place on scrap yarn or a holder and set aside.

Re-join your yarn under the arm so you can finish the back. Knit as you did for the front.

Once you have both front and back finished, with your neckline bound off and live stitches, line up the shoulders for seaming. You can use either a three-needle bind off, or grafting. 

To use a three-needle bind off, turn your top inside-out so the right sides are facing, and bind off the shoulders. 

To use grafting, keep the top right-side out, and graft the shoulders. 

Weave in all your ends, block, and done!

IMG_0430.JPG
Vasa.jpg

The Spring Top KAL!

Circle of StitchesComment

We are kicking off a Spring Top KAL because there are just too many cute top patterns out there and we need to make some of them! We are determined to dispel the myth that knitting is only for cold weather, so grab your needles and lets make some spring and summer pieces! Our official Kick-Off is April 10, but you can start or join in any time! Not local? No worries, you can knit along in person or online!

We've put together a collection of lightweight knitted tops, and hope you'll be inspired to join us! Click to view the whole collection on Ravelry. Here's a little preview:

Jessie's Girl is a super-simple top knit in sportweight yarn, perfect for Quince & Co Willet, a gorgeous cotton!

Jessie's Girl is a super-simple top knit in sportweight yarn, perfect for Quince & Co Willet, a gorgeous cotton!

 
Churchmouse's Simple Tee knits up beautifully in Shibui Twig, a textured and cool linen, recycled silk, and wool blend. 

Churchmouse's Simple Tee knits up beautifully in Shibui Twig, a textured and cool linen, recycled silk, and wool blend. 

Derecho is a pretty yoked tee knit out of 100% recycled fibers! Berroco Remix Light is a tweedy fingering weight wool-free blend of nylon, cotton, acrylic, silk, and linen. 

Derecho is a pretty yoked tee knit out of 100% recycled fibers! Berroco Remix Light is a tweedy fingering weight wool-free blend of nylon, cotton, acrylic, silk, and linen. 

 
Asagi is a sweet tee with a leaf motif on the sleeves, perfect for any fingering weight yarn!

Asagi is a sweet tee with a leaf motif on the sleeves, perfect for any fingering weight yarn!

How our KALs work: We want you to have a super successful project! When you buy your yarn from us and join a KAL, we will be there to help you every step of the way. We can help you choose your best size, talk about whether or not the pattern needs any adjustments, help you measure gauge, and answer any and all questions you may have as you knit it! We will even teach you the best way to block your project. 

The Hawthorne Cowl

Ana CamposComment

Want to learn how to knit brioche? Take Ana’s self-paced Demystifying Brioche Knitting workshop!

Level: Intermediate

Gauge: 15 stitches x 20 rows = 4" in Brioche Stitch pattern

Size: Finished dimensions: 29” circumference, 12” length

To change the circumference, add or remove stitches in multiples of 2. Don’t forget this will affect your yardage requirements. Every 2 stitches will add or remove approx. ½” to your cowl.


Materials:

Main Color: 1 skein of Malabrigo Merino Worsted

Contrast Color: 1 skein of Malabrigo Merino Worsted

US8 24” circular needles, or size needed to obtain gauge


Abbreviations:

BRK: Brioche knit 2 together

BRP: Brioche purl 2 together

YF SL1YO: Yarn forward, Slip 1, YO. Also YOS.

SL1YOF: Slip 1, YO to front


Directions:

Using MC, CO 110 stitches. Being careful not to twist, join in the round.

Rounds 1-5: Work in Garter Stitch, starting with a knit round.


Brioche Section:

Set-up Round (CC): Leave MC hanging in back. With CC, *SL1YO, P1, rep from *

Set-up Round (MC): Leave CC hanging in front. With MC, *BRK, YF SL1YO, rep from *

Round 1 (CC): Leave MC hanging in back. With CC, *SL1YO, BRP, rep from *

Round 2 (MC): Leave CC hanging in front. With MC, *BRK, YF SL1YO, rep from *

Repeat Rounds 1 and 2 until cowl measures 11.5 inches from CO edge.

Work 5 more rounds in garter stitch, starting with a knit round.


Bind off loosely knitwise. Suggested BO: *K2togTBL, slip stitch back onto left needle, rep from * until 2 stitches remain. K2togTBL.  Weave in ends and block gently.


Gift Guide for Knitters and Fiber Lovers!

Circle of StitchesComment

So you have a beloved fiber lover, and you're stuck on finding them a gift. Let us help you!

Gift3-Number.jpg
Gift5-Numbered.jpg
Gift2-Numbered.jpg
Gift4-Numbered.jpg
Gift7.jpg

1. Crochet Therapy, the soothing art of savoring each stitch

2. A sweet I Heart Stitch Art embroidery kit!

3. Kids Crochet, projects for kids of all ages 

4. Pom pom makers! They come in assorted sizes and are a perfect stocking stuffer.

5. The Modern Natural Dyer, for the earth-loving fiberista who would enjoy learning how to dye

6. Alterknit Felt, so your loved one can discover new ways to play with wool

7. Norah Gaughan's Knitted Cable Source Book, an amazing reference book that would make an amazing addition to any knitter's collection

8. On the Loom, a new book on tapestry weaving with an assortment of fun projects

9. Embroidered doll kits, complete with wool stuffing!

10. A JessaLu project bag. Comes in assorted fabrics and every knitter and crocheter loves a project bag!

11. Lux Adorna Fun Sized Sport Bundles - adorable bundles of cashmere, with a cowl pattern included. A lovely little luxury!

12. Take Heart, a lovely new book of knitting patterns

13. Sock-shaped needle point protectors, a perfect stocking stuffer

14. Highlighter tape, another great stocking stuffer

15. A complete pop-out tapestry weaving loom, instructions included! A great gift for any yarn lover

16. A beautiful shawl pin by JUL Designs

17. A cute embroidery kit by CozyBlue

18. A Circle of Stitches stitch gauge! A great stocking stuffer.

19. Heart-eyed Sheep Enamel Pin, to adorn their project bag!

20. Removable brass stitch markers

21. Hand-felted sheep hanging ornament 

22. Soak, for washing handknits! Comes in two sizes

23. Woollelujah! A tote bag for all their yarn, because who doesn't love a tote bag?

24. High Fiber Diet tote bag, because see above.

Still can't decide? Get your loved one a gift card!

PS. How about this super cool Yarn Pyramid art print?


A Note on Adjusting Waist Length: The Shaken or Stirred Cardigan

Ana CamposComment

This fall, we became a flagship store for Harrisville Designs, a family-owned spinning mill here in New England. We are so excited to continue supporting small companies, and when their new FlyWHEEL yarn arrived, I couldn't wait to try it out!

FlyWHEEL is a lofty, woolen-spun yarn made of 100% pure virgin wool. The stunning colors are dyed in the wool and blended during the spinning process, which gives them a beautiful heathered depth. I picked Thea Colman's Shaken or Stirred to showcase the yarn. Thea is also local to New England, so I was excited to knit a super-local project!

I've knit Thea's patterns before and I know that I am longer-waisted than she is. I have a long torso, which means I go into her patterns expecting to adjust the length of the waist shaping (the area between the bust and the hips) for my own body. I know this can sound intimidating and I wanted to take the opportunity to explain this a little, so that it may help you in your own knitting projects. I did not modify any circumferences (bust, waist) in this project, only lengths.

The shaping on this project is very subtle, since it's intended to be a cozy, oversized cardigan. Thea has it set up with 2 sets of decreases, the first at a certain length under the arm, and the second set after another 1" of knitting. After decreasing, there are 3" of straight knitting at the waist. The hip increases then mirror the 2 decreases, over 1".

What this means: The tapering for the waist happens over a length of 5 inches: The decreases are 1" apart from each other, then 3" for the waist, then 1" for the hip increases.

For my size, the pattern called for waist shaping to start 3" under the arm separation. My waist doesn't start sloping inwards until 4" under my arm, so this was an easy adjustment: I knit an extra inch before starting my shaping.  Next, I needed 1.5" before getting to my waist instead of just 1". Instead of doing the second decrease 1" after the first, I knit even for 1.5" before decreasing again. I kept the 3" of straight knitting at the waist, then did my first increase. To match the decreases, I spaced my second increase at 1.5" instead of just 1".

In the end, I lowered the entire waist shaping by 1", and then added 1" of length to the entire shaping section. Just some simple math! I hope this helps you with your future projects. Questions? Let me know in the comments!

P.S. - The Harrisville FlyWHEEL worked up beautifully, I can't wait to knit with it again!