Circle of Stitches

Purveyors of fine yarns and witchy goods

An Interview with Wren of Dark Days Tarot

Circle of Stitches1 Comment

You may know we carry a selection of independently-published tarot and oracle decks (and may even have taken our Intro to Tarot Workshop). We love working with independent artists, not only because we love supporting them but also because of the rich stories and imagery these artists incorporate. Today we are chatting with Wren McMurdo, designer of the gorgeous black-and-white Dark Days Tarot, and also a knitter!

Hi Wren, thank you for chatting with me! Could you tell me about the journey of learning to read the tarot and then eventually designing your own deck? What inspired you to start this project?

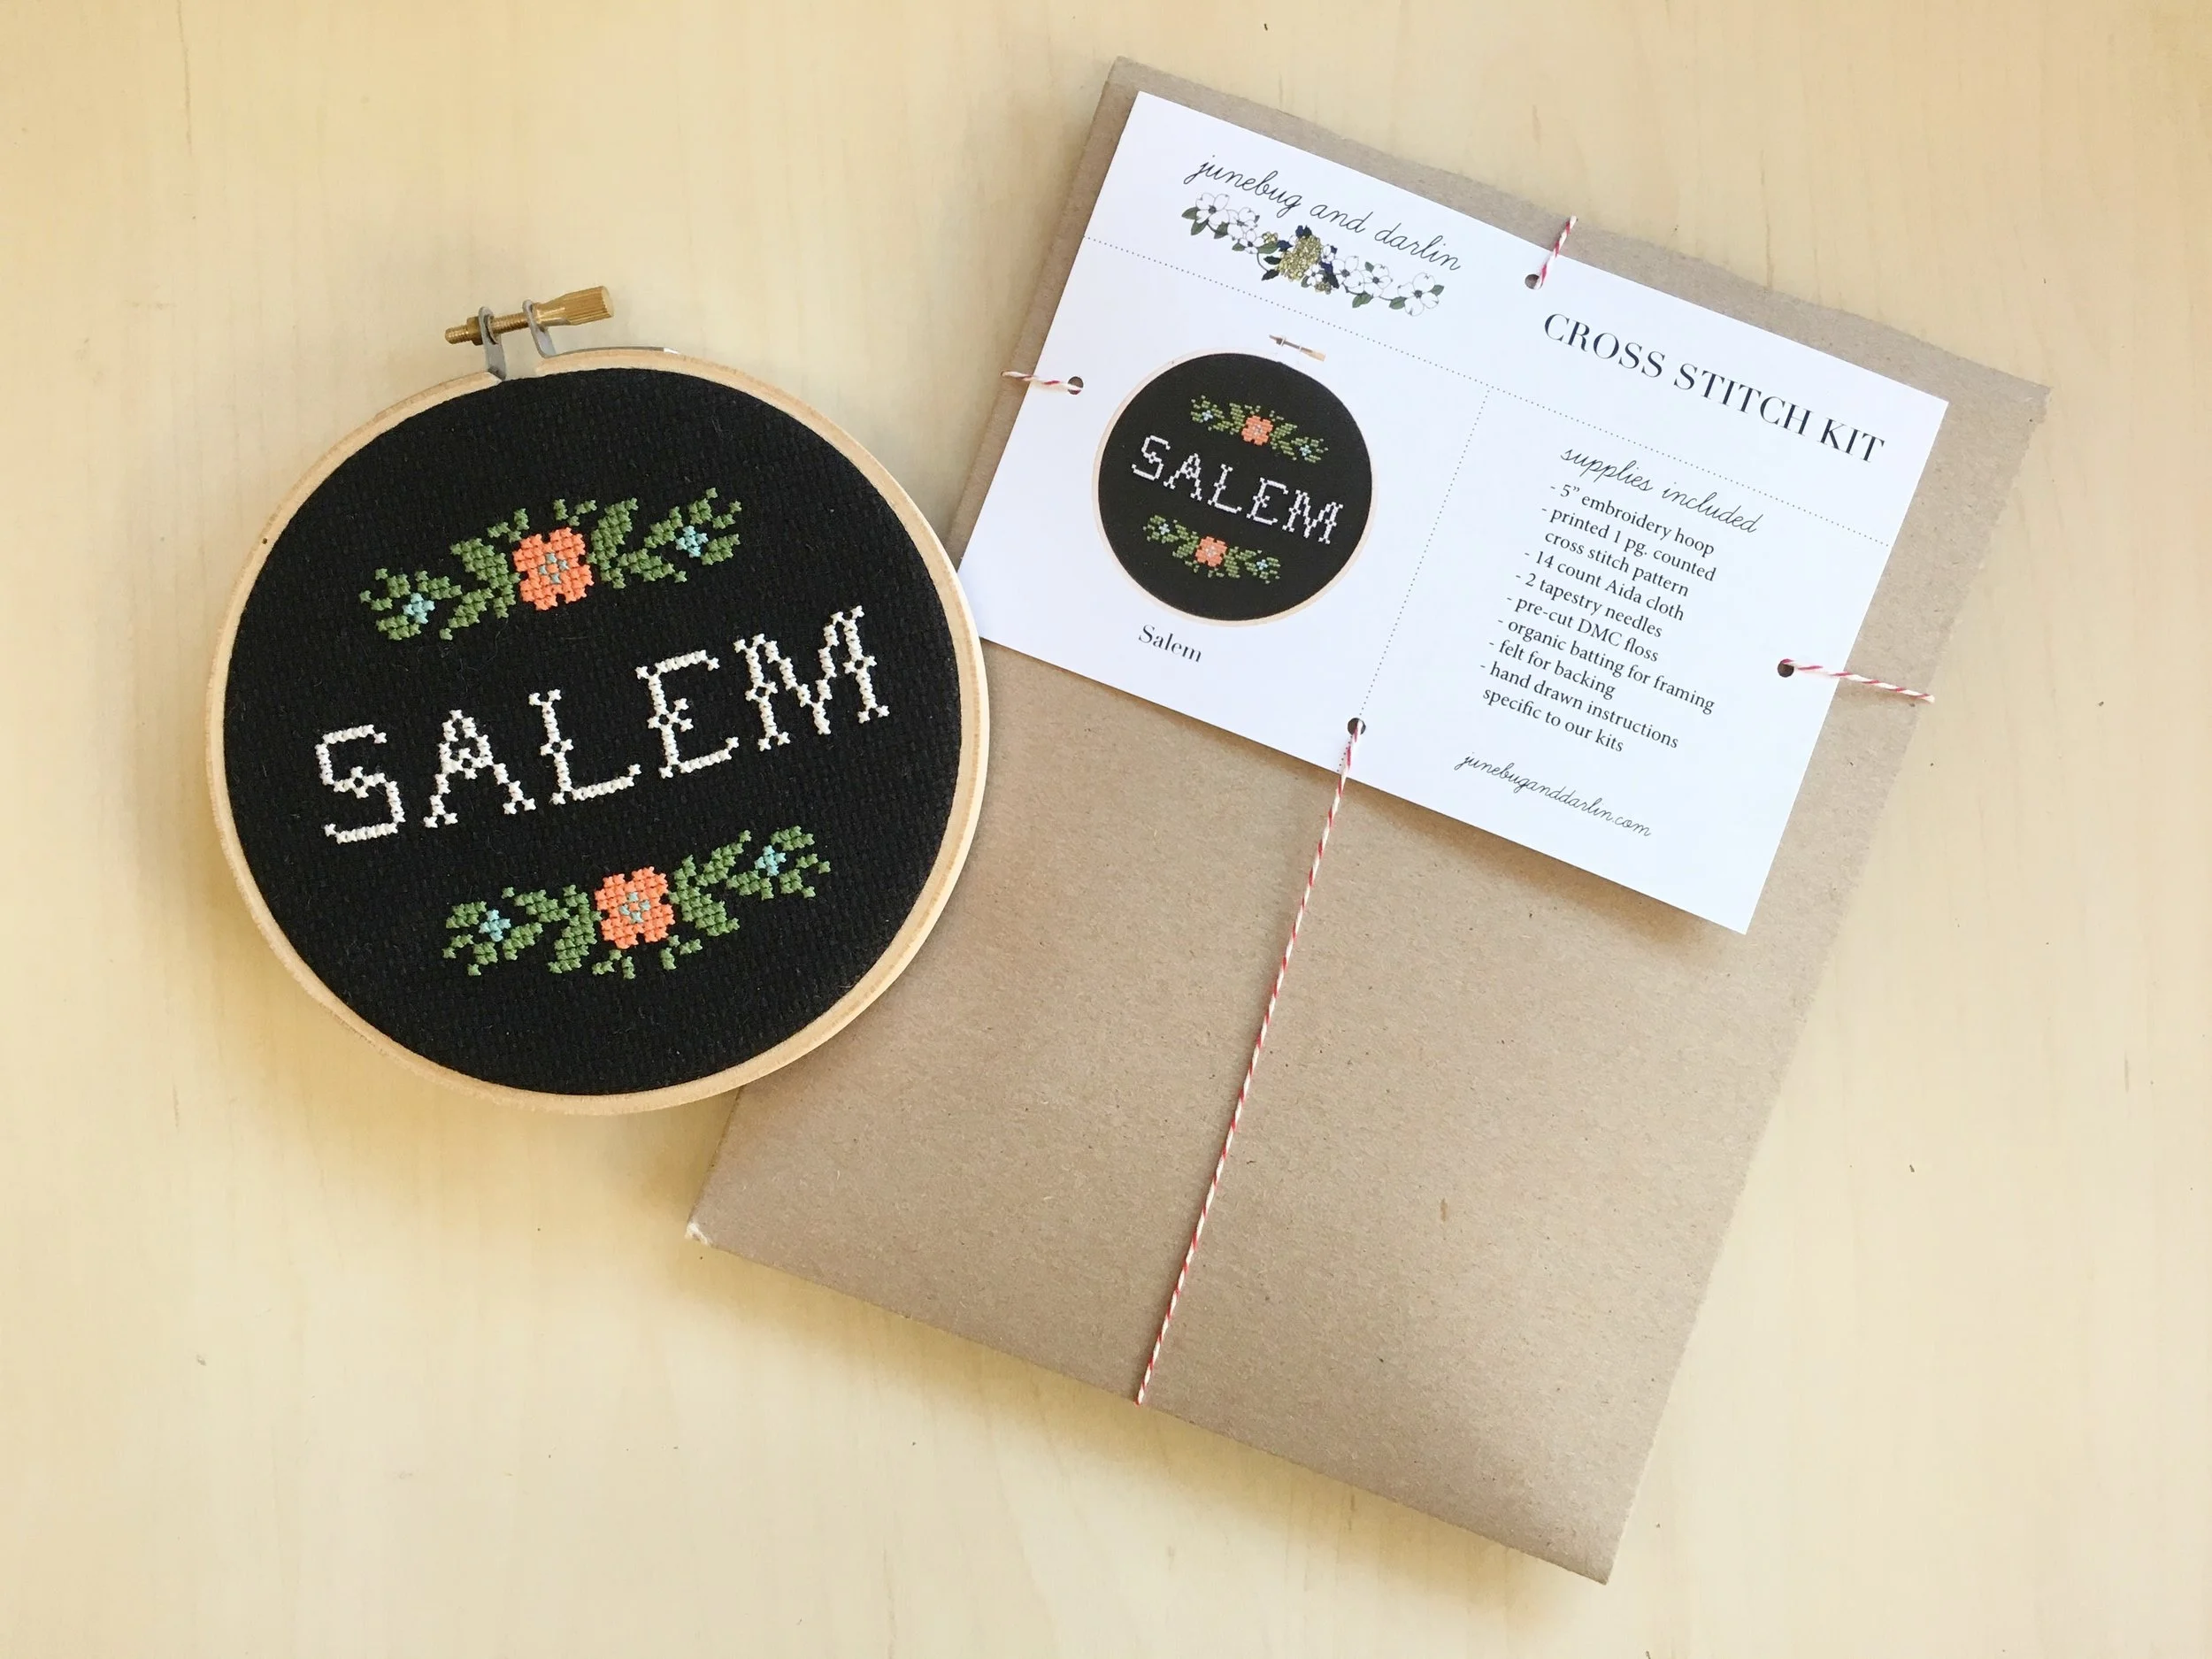
Hi Ana! It’s wonderful to speak with you. I love your shop! The combination of knitting and witchy arts is so perfect, and I love that your shop is set in Salem, MA, where there’s a strong magickal historical imprint. Glorious!

I spent six months studying Ashtanga yoga in India with Sri BNS Iyengar about ten years ago. Yoga and India inspired me to develop my spiritual practice, and it was there that I learned to meditate. Like, really meditate, where I felt I could leave my body if I wanted to. India is hugely into astrology, as well, so I kind of fell into the craft from an yogic angle. I discovered I was a witch via a dream I had there.

My then-partner gifted me an Osho Zen tarot deck when I returned home. As a queer artist, I was hugely inspired by those cards. They’re amazingly beautiful with plenty of rainbows and voluptuous characters. I thought, ‘What an amazing project it would be to design my own deck!’ It took me nine years to get to it, but I did.

FullSizeRender-9.jpg

What is the process of designing and then publishing your own deck?

My brand, Dark Days, started as a chocolate company. My idea was to create herbally-infused chocolates that help with PMS that would also showcase my work as an illustrator. They were a hit! However, I had discovered in the process that chocolate is not my favorite medium to work with, so I found a way to shift the brand to suit my desires.


I had already been creating Tarot-esque images for my social media account and having a blast with that process, so I decided to give it a go and design the whole deck. I designed them one by one, studying them thoroughly while fleshing out my meditation and witchcraft practice. I found my psychic abilities heightened by this practice, and I now consider myself a developed witch.

I had been sharing the cards with my Dark Days community via Instagram, receiving amazing support. A year later, I launched my Kickstarter campaign, and, with the help of so many amazing supporters within my community, published my deck! It was an incredible process in which I learned to be open to my desires as a path to success. That desire was to be a professional witch and artist, and here I am!

Your gorgeous deck is "inspired by the dark side of the moon." Could you tell us what this means, and how this informed the artwork for your deck?

When I was in high school, I didn’t get my period due to an eating disorder I’d developed. My therapist gave me the book Women’s Bodies Women’s Wisdom by Christiane Northrup, and I learned of the link between my mind, body, and the moon. My lack of periods led me to the moon! I discovered that all beings follow the phases of the moon, energetically, and I became particularly interested in the dark side of the moon, where “PMS” typically occurs. I believe premenstrual syndrome is a series of messages from your soul and body to your waking-life mind. A sour mood can alert you to a desire you’re not honoring, and heavy cramps can link to unhealed trauma or rampant stress, etc. The dark days of the lunar cycle offer the opportunity to grow in those tougher, harder-to-confront ways, and I think Tarot is also very good for this kind of growth. Therein lies the opportunity to find your truth via darkness.

FullSizeRender-8.jpg

What is the first tarot deck you ever owned? Mine was the Rider Waite, more than 20 years ago, and I've really enjoyed seeing to many female artists reinterpret and redesign this deck.

The Osho Zen I mentioned deck was my first deck, and it’s amazing. I recommend it to collectors everywhere. Though that deck isn’t traditional in the Rider-Waite sense, I used the Rider-Waite structure for my own because the cards are square, so I wanted to keep things somewhat consistent and a little easier for new readers.

The deck is square because I prefer to see things in cycles rather than black or white, upright or reversed. If one of my cards lands upright, it’s a full moon, manifested card. If it’s pointed left, it’s a waxing moon, building energy. If it’s tipped right, it’s waning, and if tipped upside down, it’s a new moon, a seed. I prefer this structure because it allows for a more independent interpretation, allowing more psychic/intuitive energy to flow through the reader. It also reminds the reader that “this too shall pass.”

What else would you like to share about yourself, your practice, and the Dark Days Tarot?

I believe that as a global community, we witches are being called by Earth and the cosmos to protect our planet, people of color, women, animals, etc. It is my hope that this deck will help us confront tougher issues on a more regular basis, enacting long-lasting and positive change through the craft, which is ultimate the craft of the self.

Yogis are taught to use their mats to practice being uncomfortable, and I see Tarot cards as serving a similar function, in that they are little yoga mats for building character. The more comfortable you can get with being uncomfortable, the more power you’re able to wield in a world that’s filled with undeniable problems and violations against life.

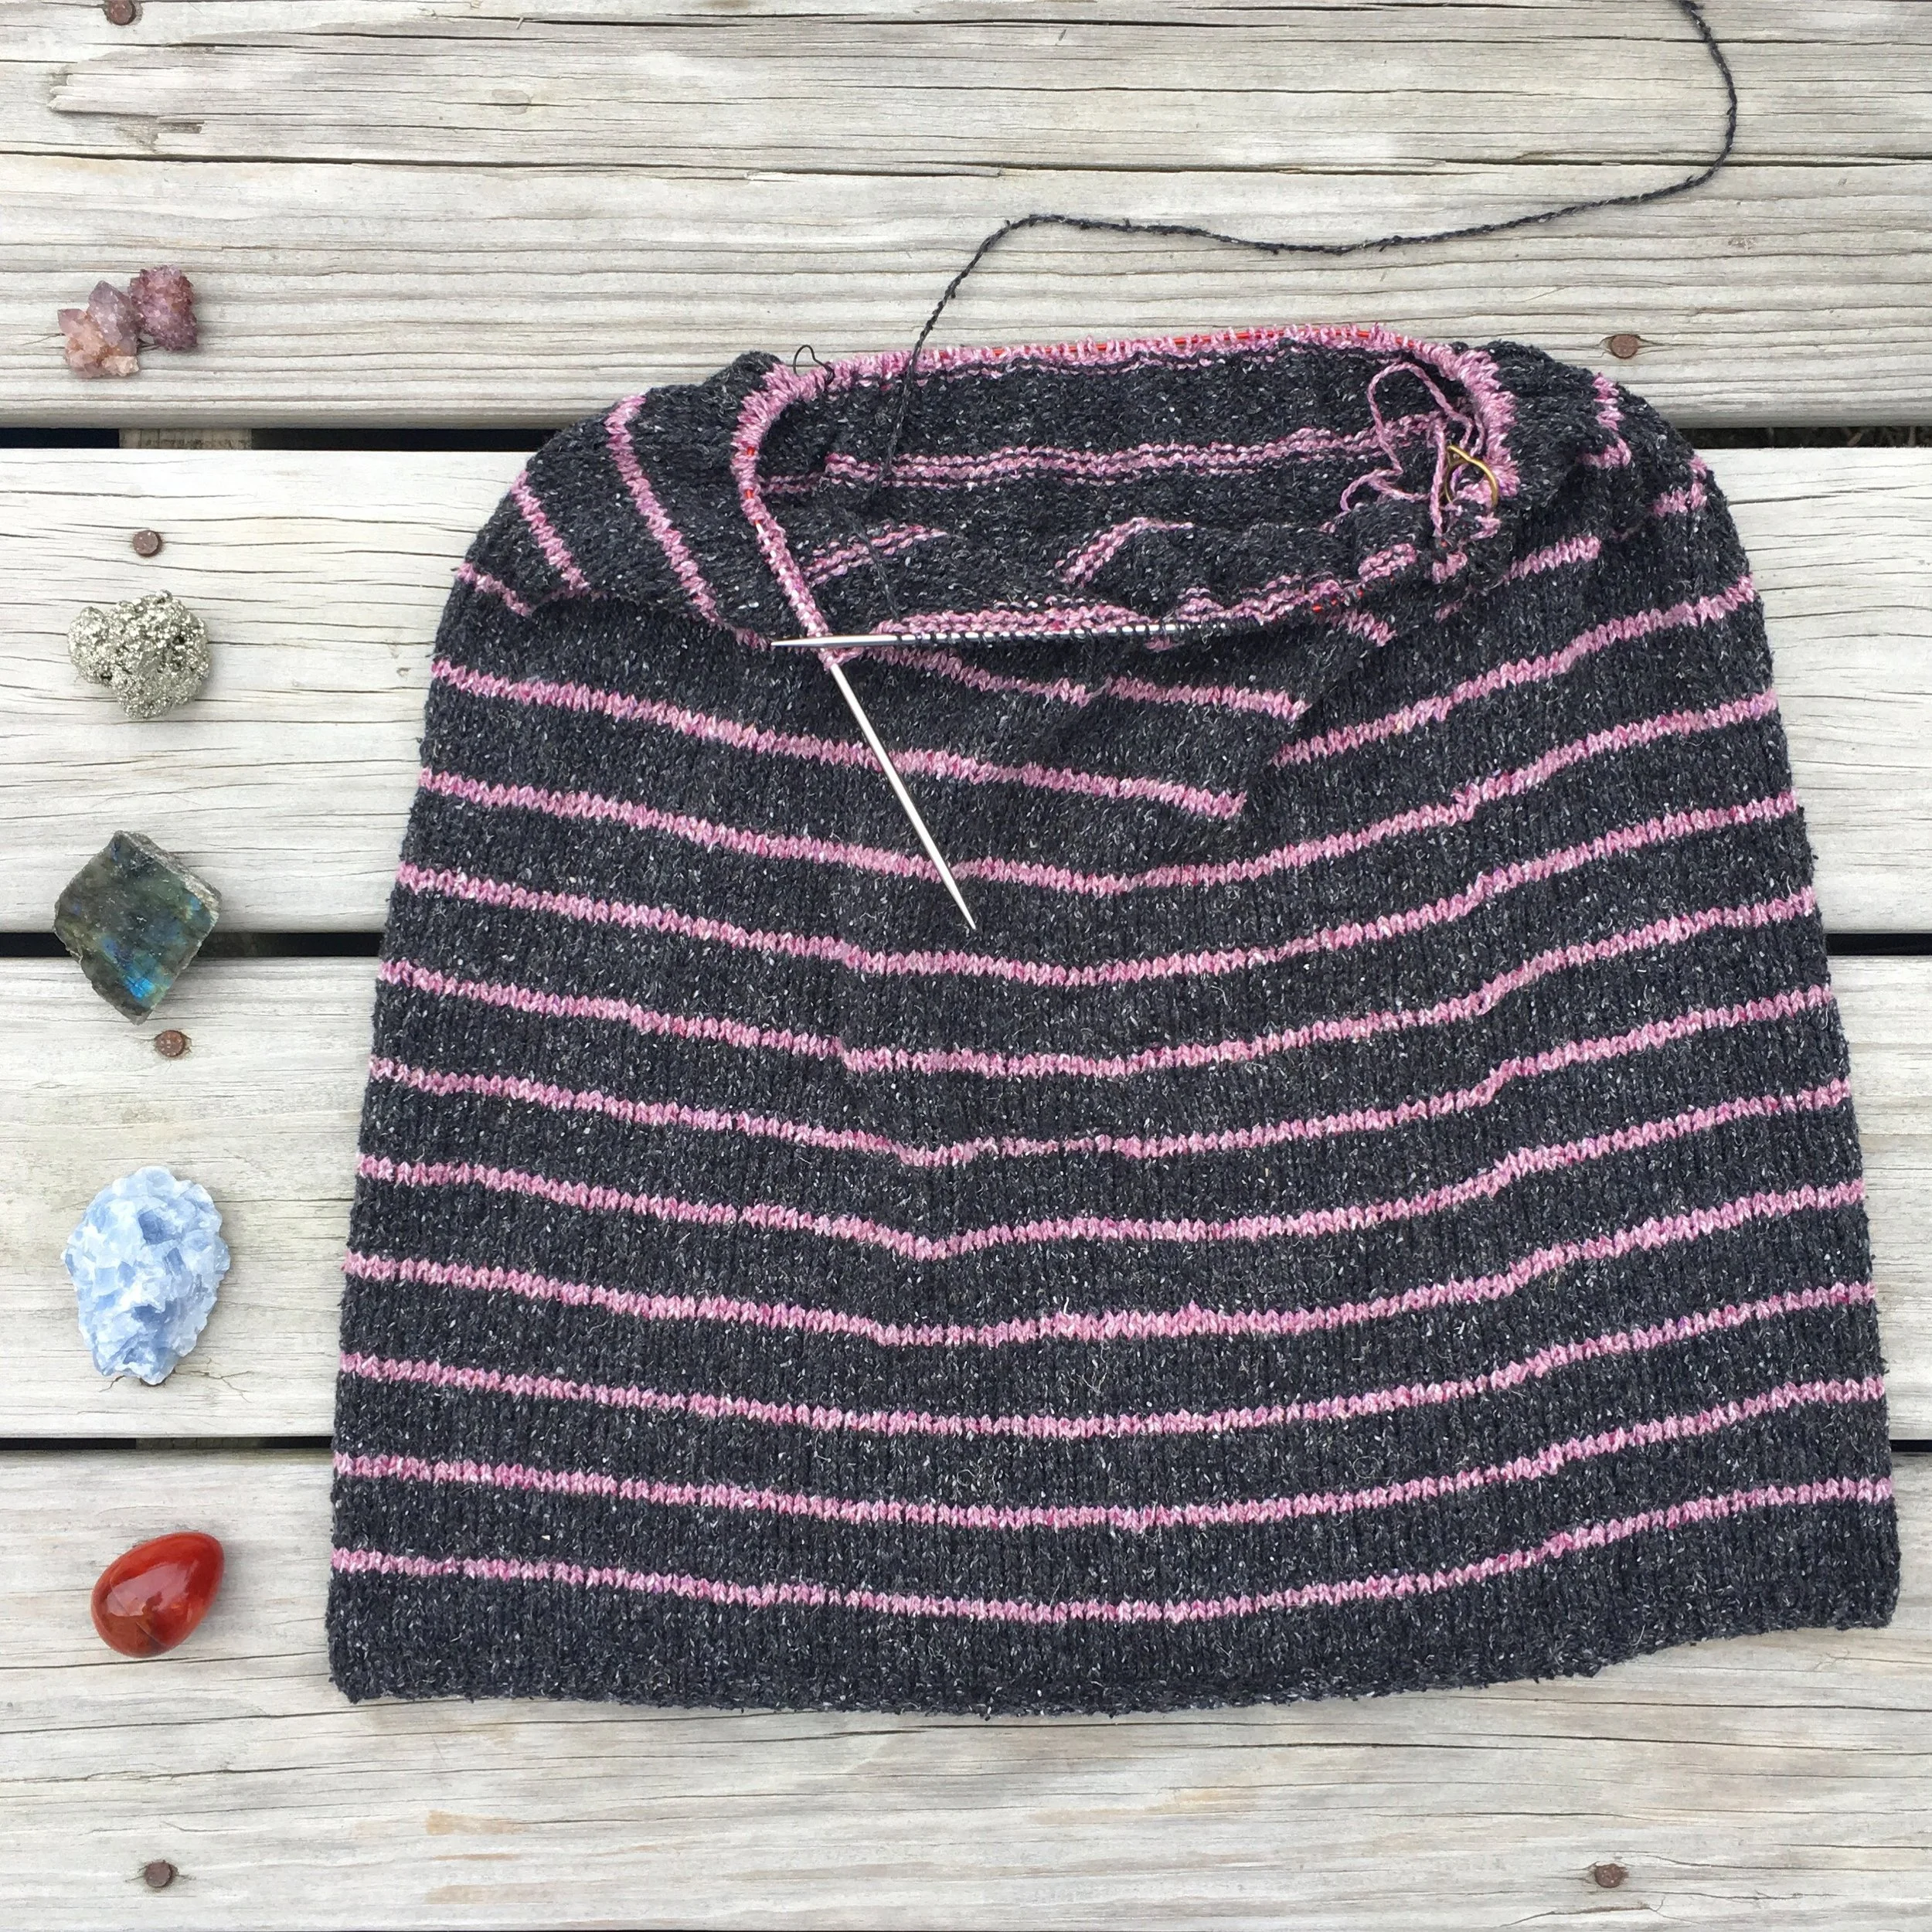
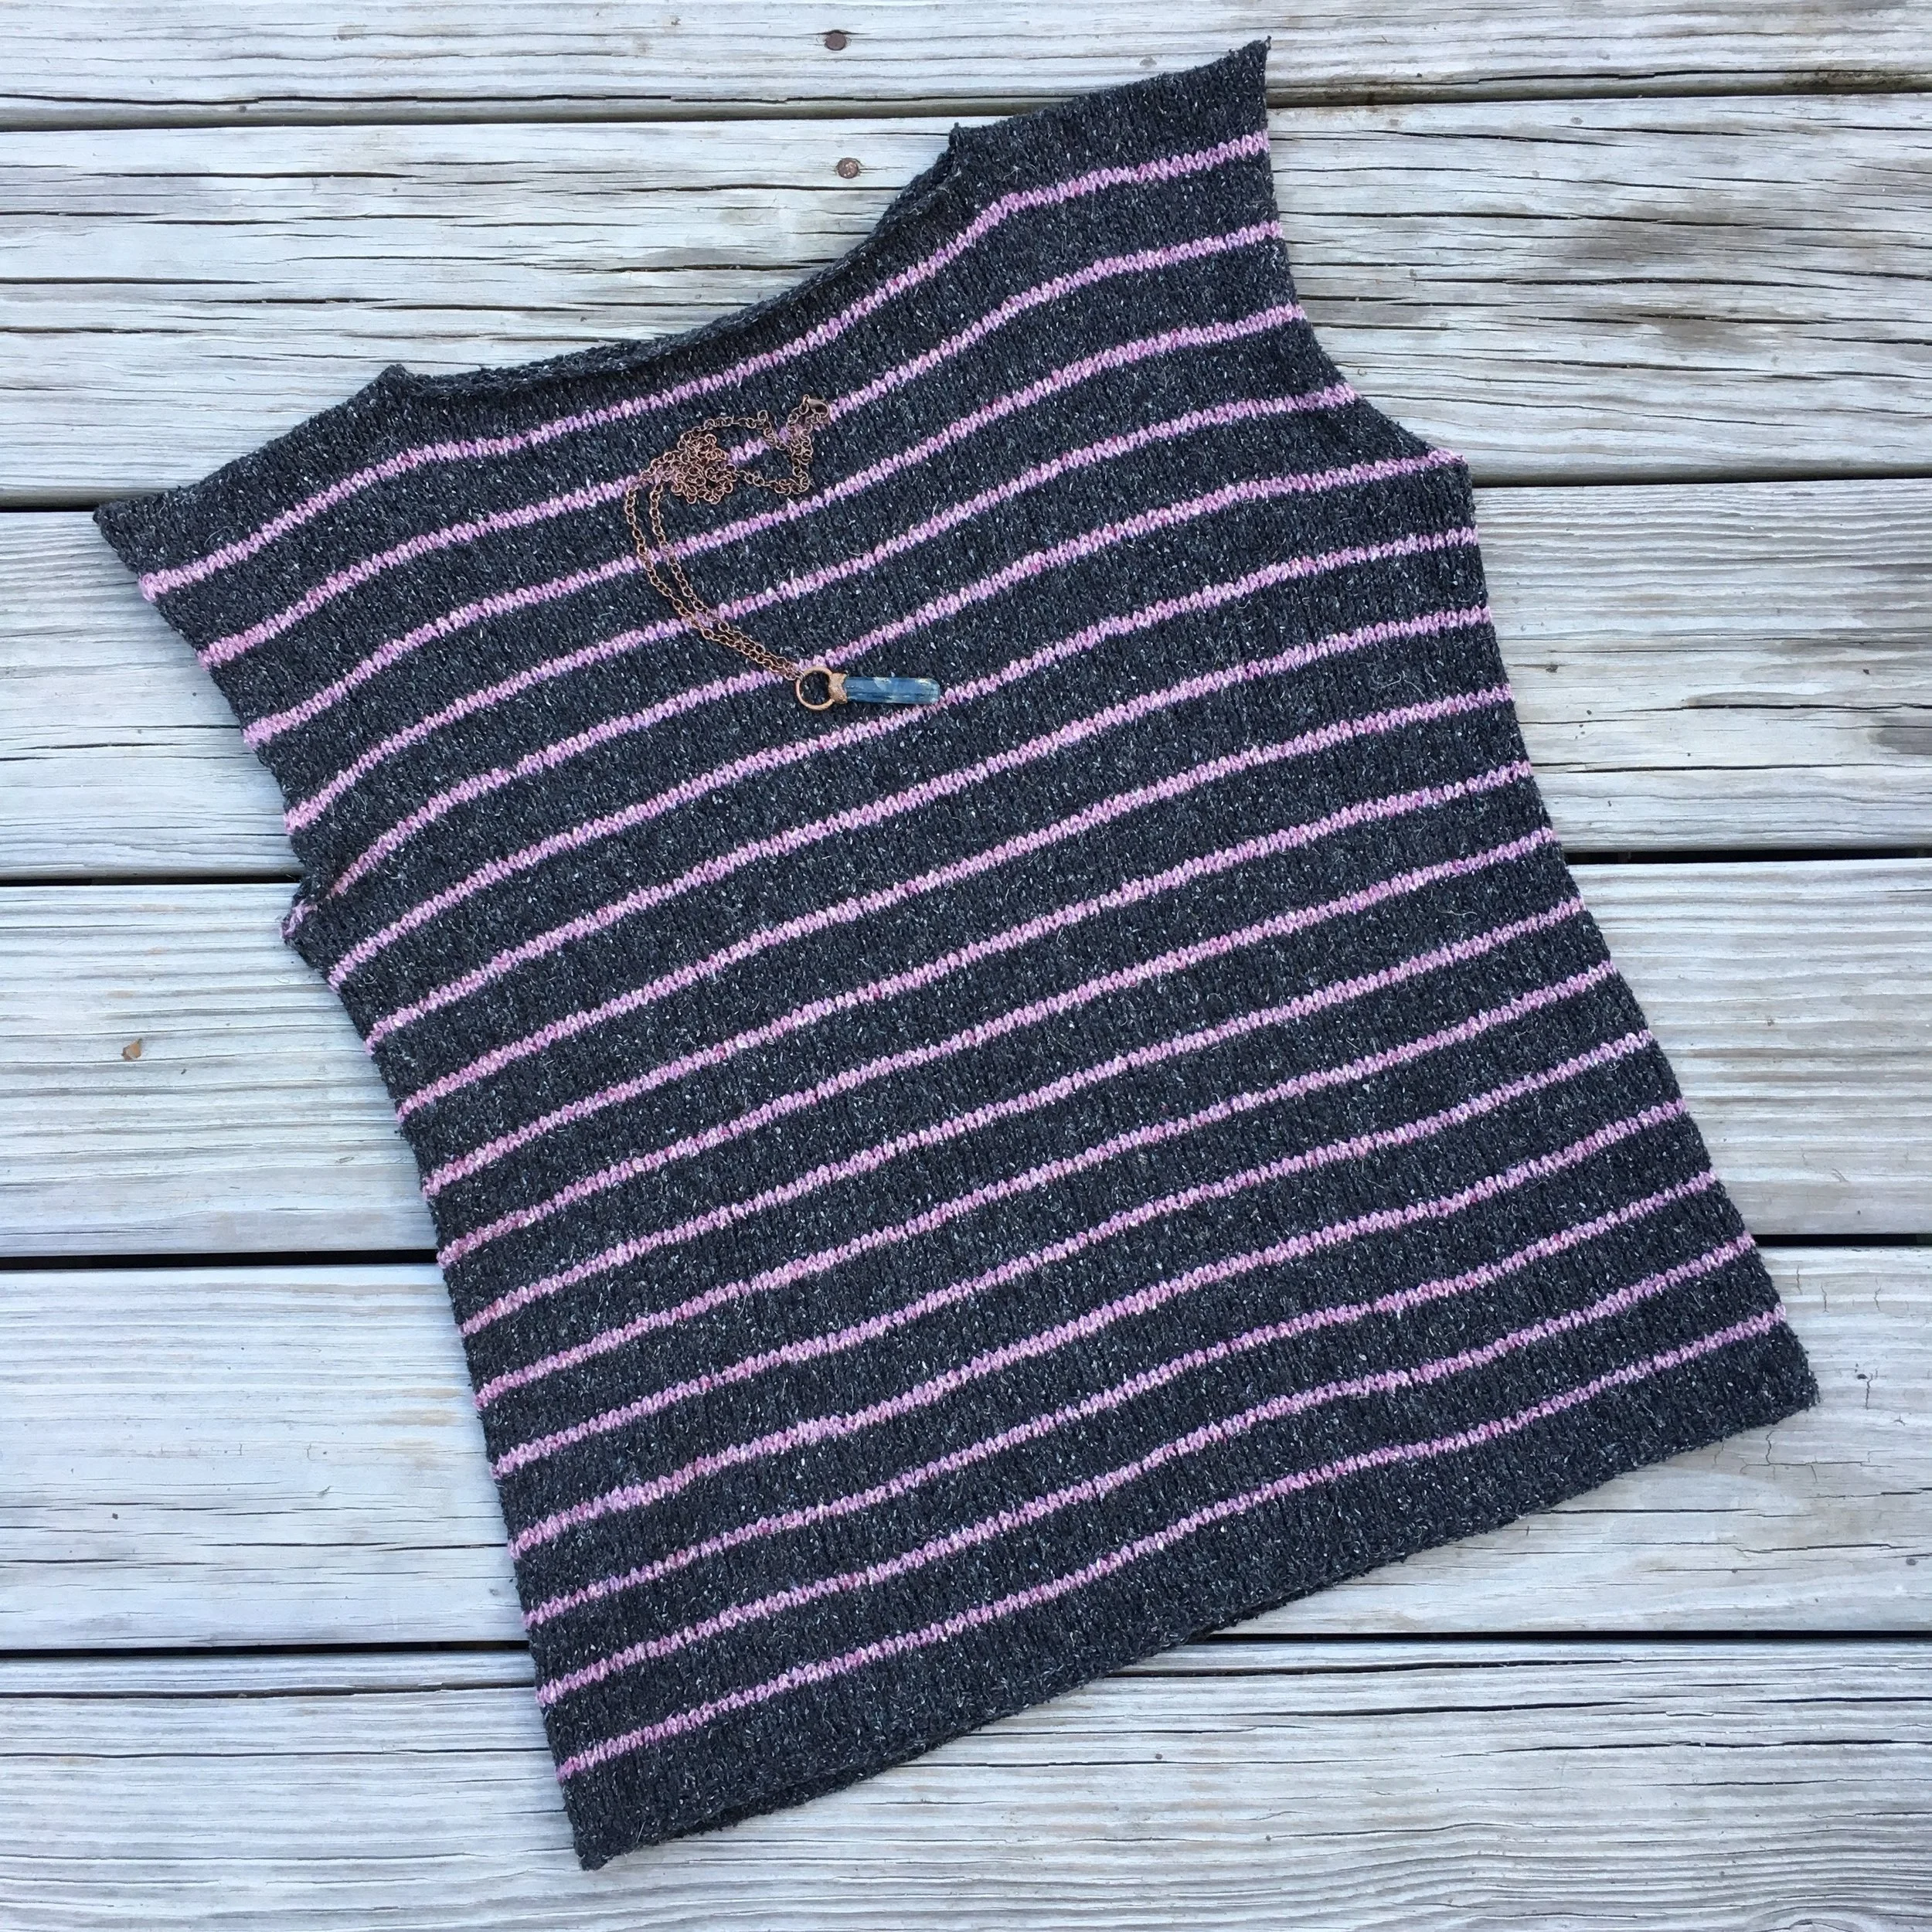
Now, we do need to talk a little about knitting! How long have you been knitting and can you show us something you're working on?

Oh, gosh, I love knitting! I’ve knit since high school, so...over fifteen years of knitting! It helped me heal my eating disorder, actually! I even went to fashion design school because of my love of knitting that eventually led me to get into machine knitting. My entrepreneurial spirit has a hard time just sitting and enjoying something for the fun of it, so of course I had to go and turn knitting into a career! I detoured away from fashion when I moved to Seattle with my wife, turning to chocolate, and finally Tarot, which is sticking, hard. Illustration and witchcraft were always constants through each of these phases.

I have been working on a bra top, lately, which I’m knitting freehand out of cotton sock yarn I found in a little shop on Orcas Island, WA. It is intended to be part of a bra and shorts set for hitting the rocky beaches of Seattle.

What is your favorite item to knit? I love making sweaters and socks myself.

I don’t have a favorite thing to knit. It’s all about creation, for me, so it depends on what I want to wear or make for myself at the time. The first thing that comes to mind is this beautiful poncho that I made using a pattern I found in my old copy of Stitch ‘n’ Bitch by Debbie Stoller, one of my feminist idols.

Do you have any favorite patterns you'd like to share?

I've actually stopped using patterns and now just design my own little patterns on the fly. When I finish designing this bra top set, I’ll send along a pattern so y’all can enjoy it!

An Interview with Junebug and Darlin

Circle of StitchesComment

One of our main goals is to support the handmade and artisan movement - both through teaching and supporting handcrafts, and also by bringing the work of artisans into our shop. We recently added our exclusive Salem cross-stitch kits to the shop. They were designed by Junebug and Darlin, who create the fun and subversive cross stitch kits we carry. We wanted to get to know the women behind this brand a little better, so we chatted with Zoe Frost, who is one half of the creative force behind Junebug and Darlin. 

I know you met while selling baked goods at a farmer's market in California. How did you go from baked goods purveyors to business partners?

I know it’s cliché, but our meeting was kismet. MaryLynne was one of the nicest people I had ever met and on the second day of working together, she had made me the cutest apron to wear to market. I was immediately in awe of her sewing skills and asked her to teach me all her tips and tricks. It was clear from the beginning we had to take our skills on the road. We had one year of magical skill sharing and scheming before MaryLynne moved back to Virginia to be close to family, and life got away from us for a bit. But after a few years of scribbling ideas into notebooks the perfect time arose. I moved to Klamath Falls for a bit, and with nothing but time on my hands MaryLynne and I started crafting the details of starting our business. The hardest part of starting was picking just one or two ideas from our years of brainstorming. MaryLynne had been stitching for a while, and after tossing some pattern ideas at her, she suggested I get some supplies and put my creativity to the test. The first pattern I made was the Moon Phases Kit. It must have taken me a week from designing the pattern to teaching myself how to cross stitch before I had our first finished sample (now I can stitch one up in about an hour). It was then my love affair with cross stitching began. It was clear from that moment we had our business venture, Junebug and Darlin. The name came from a combination of nicknames, Zoe is Junebug and MaryLynne is Darlin. A fun side note – if you love stitching, try re-making one of your first projects. The difference between my first stitch and now is unbelievable.

You specialize in subversive crafts. Can you explain what that means?

We knew when we started Junebug and Darlin that we didn’t want to do “more of the same.” We wanted our crafts to not only be great quality, but also share a special message and bring traditional crafts into modern times. There are some super great cross stitchers out there who use swear words in their designs, but we wanted to make something more targeted than just swearing because it’s funny on a cross stitch. We knew there was no better place to start than with words of empowerment for the queer community. That’s when our second cross stitch was created – Femme as F*ck. It turns out that making queer cross stitch patterns is a great way to stay connected with community while living in a small rural town.

I am always very interested in the intersection between feminism and craft, because they can really seem at odds with each other on the surface. Crafts in general are often dismissed as "outdated" or even "anti-feminist" because of their history. Why did you pick cross stitch as your medium?

For some time, fiber arts have been interchangeable with “women’s work,” which unfortunately means they are/were looked down upon. So, combining feminism and fiber arts was kind of a no-brainer for us. I have an art and art history background and knew that modernizing cross stitch was inherently feminist, but I wanted to take it further. There was a gap in the kit making world of Etsy for queer and radical crafters. It is important for us that we make designs that are not only eye catching in color and design, but have a message of empowerment. It’s for this reason we also have rotating kits that are created for specific non-profits. 40% of the proceeds from these kits are donated to places like Planned Parenthood, the Transgender Law Center and Southerners on New Ground.

I wish there was a more profound reason for why we chose cross stitch over embroidery or weaving or any other fiber art, but honestly, it stemmed from an intrigue of the medium and the fascination hasn’t waned yet. I think there will come a day in the future when we either start breaking into embroidery, or bring traditional embroidery stitches into our cross stitch patterns. I get really excited about blending multiple mediums and subverting the norms of what traditional fiber art is supposed to be on a variety of levels.

I notice that you sometimes combine very delicate and more traditional-looking imagery with subversive phrases, like in your Feminist kit. Is this juxtaposition intentional? How do you come up with your designs/make decisions about what images to put together?

The borders and floral designs are a mash up of traditional cross stitch samplers, art nouveau posters and Rifle Paper, Co. Oh how we love Rifle florals. I am trying to reach outside of my comfort zone a bit in some of the new designs I’m developing and I’m spending a lot more time trying to stay tender with myself. Only time will tell if the designs are a success or flop, but like the kits I make, it’s important to keep pushing the boundaries.

IMG_8031.JPG
IMG_7844.JPG

No matter the design, I don’t release anything until I feel confident having Junebug and Darlin attached to it. When I design a new pattern, I want to make sure it will be something that folks will want to make and display in their homes with pride. A lot of our phrases are inspired by radical activists movements and self-care affirmations. I know when I am getting ready in the morning, I really enjoy having a giant piece of artwork that says “You Are Enough.” And when I’m struggling in my office with either a failed project or a never-ending flood of emails, I gaze up at my “Stay Tender” piece. I try to design kits that inspire me in hopes they inspire others.

One of the best parts of crafting these forever pieces is hearing the personal stories associated with them. For some, the perfect kit is “Safe Space” for their classrooms or offices. And for others it’s “Nasty Woman” as a continued declaration for women’s rights. Our most popular kit is “Feminist,” and I hope that trend never passes. Seeing the variety of folks that purchase that kit or pattern for themselves and friends is so encouraging. Feminism feels very “on trend” right now, but we don’t make kits to be trendy. We make kits to inspire and engage with any community that feels they want to take part. Let’s elevate the conversation and continue the beautiful work that Marsha P. Johnson, Ruby Sales, bell hooks, Sarah Ahmed, and so many others have and are doing every day. The root of feminism isn’t trendy, it’s hard work. We’re happy to be contributing to the fight through craftivism.

Anything else you'd like to tell us about?

We just want to say thank you so much to everyone who has supported us in our endeavors thus far. Junebug and Darlin is only a year old, which feels ridiculous considering how much we’ve grown in this short time. We’re so grateful to the shops like Circle of Stitches who carry our kits and help us push the boundaries of traditional craft. Stay tuned – we’re always excited to share what’s next!

Thank you Zoe for chatting with us! We are so happy to support you and the craftivist movement. 

Check our Junebug and Darlin kits on our website or in store!

The Vasa Top: Knit it in the Round

Ana CamposComment
IMG_9661.JPG

I'd been coveting Dianna Walla's Vasa top for ages, and when Berroco Remix Light arrived in the spring I knew it would be the perfect yarn - tweedy, wool free, lightweight, and made of 100% recycled fibers. 

Dianna's pattern is written to be knit flat, but being slightly impatient, I modified it to knit in the round. Here's how to modify the pattern if you'd like to knit it in the round too (don't forget to buy your copy of the pattern first):


Casting on: Find the cast on number for your size. Take this number, multiply it by two, then subtract four stitches. This is your new cast on number. What this does is give you enough stitches for both back and front at once, and removes the selvedge stitches since you won't be seaming. Join in the round and place a beginning of round marker. 

Ribbing: rather than following rows 1-4 as written, K1, P1 all around for all four rounds.

Rows 1-10: Follow as written, but change the purl rows for knit rows since we are in the round.

Work in this manner until you have your desired length to the underarms. Now you will be working flat. Split your stitches in half, half for the front and half for the back. 

Working the first half, now follow rows 1-10 as written in the pattern (knit flat). End having completed Row 7.

Now you'll be defining your shoulders and binding off the neckline. Look under "Finishing" on the pattern to figure out how wide your shoulder will be. For example, if you have a 6" shoulder, that should correlate to approximately 36 stitches. Knit the next 36 stitches, bind off until you have 36 stitches left, and knit to the end. You will now have a bound off neck line, with 36 live stitches on each shoulder. Place on scrap yarn or a holder and set aside.

Re-join your yarn under the arm so you can finish the back. Knit as you did for the front.

Once you have both front and back finished, with your neckline bound off and live stitches, line up the shoulders for seaming. You can use either a three-needle bind off, or grafting. 

To use a three-needle bind off, turn your top inside-out so the right sides are facing, and bind off the shoulders. 

To use grafting, keep the top right-side out, and graft the shoulders. 

Weave in all your ends, block, and done!

IMG_0430.JPG
Vasa.jpg

The Spring Top KAL!

Circle of StitchesComment

We are kicking off a Spring Top KAL because there are just too many cute top patterns out there and we need to make some of them! We are determined to dispel the myth that knitting is only for cold weather, so grab your needles and lets make some spring and summer pieces! Our official Kick-Off is April 10, but you can start or join in any time! Not local? No worries, you can knit along in person or online!

We've put together a collection of lightweight knitted tops, and hope you'll be inspired to join us! Click to view the whole collection on Ravelry. Here's a little preview:

Jessie's Girl is a super-simple top knit in sportweight yarn, perfect for Quince & Co Willet, a gorgeous cotton!

Jessie's Girl is a super-simple top knit in sportweight yarn, perfect for Quince & Co Willet, a gorgeous cotton!

 
Churchmouse's Simple Tee knits up beautifully in Shibui Twig, a textured and cool linen, recycled silk, and wool blend. 

Churchmouse's Simple Tee knits up beautifully in Shibui Twig, a textured and cool linen, recycled silk, and wool blend. 

Derecho is a pretty yoked tee knit out of 100% recycled fibers! Berroco Remix Light is a tweedy fingering weight wool-free blend of nylon, cotton, acrylic, silk, and linen. 

Derecho is a pretty yoked tee knit out of 100% recycled fibers! Berroco Remix Light is a tweedy fingering weight wool-free blend of nylon, cotton, acrylic, silk, and linen. 

 
Asagi is a sweet tee with a leaf motif on the sleeves, perfect for any fingering weight yarn!

Asagi is a sweet tee with a leaf motif on the sleeves, perfect for any fingering weight yarn!

How our KALs work: We want you to have a super successful project! When you buy your yarn from us and join a KAL, we will be there to help you every step of the way. We can help you choose your best size, talk about whether or not the pattern needs any adjustments, help you measure gauge, and answer any and all questions you may have as you knit it! We will even teach you the best way to block your project. 

The Hawthorne Cowl

Ana CamposComment

Want to learn how to knit brioche? Take Ana’s self-paced Demystifying Brioche Knitting workshop!

Level: Intermediate

Gauge: 15 stitches x 20 rows = 4" in Brioche Stitch pattern

Size: Finished dimensions: 29” circumference, 12” length

To change the circumference, add or remove stitches in multiples of 2. Don’t forget this will affect your yardage requirements. Every 2 stitches will add or remove approx. ½” to your cowl.


Materials:

Main Color: 1 skein of Malabrigo Merino Worsted

Contrast Color: 1 skein of Malabrigo Merino Worsted

US8 24” circular needles, or size needed to obtain gauge


Abbreviations:

BRK: Brioche knit 2 together

BRP: Brioche purl 2 together

YF SL1YO: Yarn forward, Slip 1, YO. Also YOS.

SL1YOF: Slip 1, YO to front


Directions:

Using MC, CO 110 stitches. Being careful not to twist, join in the round.

Rounds 1-5: Work in Garter Stitch, starting with a knit round.


Brioche Section:

Set-up Round (CC): Leave MC hanging in back. With CC, *SL1YO, P1, rep from *

Set-up Round (MC): Leave CC hanging in front. With MC, *BRK, YF SL1YO, rep from *

Round 1 (CC): Leave MC hanging in back. With CC, *SL1YO, BRP, rep from *

Round 2 (MC): Leave CC hanging in front. With MC, *BRK, YF SL1YO, rep from *

Repeat Rounds 1 and 2 until cowl measures 11.5 inches from CO edge.

Work 5 more rounds in garter stitch, starting with a knit round.


Bind off loosely knitwise. Suggested BO: *K2togTBL, slip stitch back onto left needle, rep from * until 2 stitches remain. K2togTBL.  Weave in ends and block gently.